Monday, March 30, 2009
Friday, March 27, 2009
Just say yes to this cake.
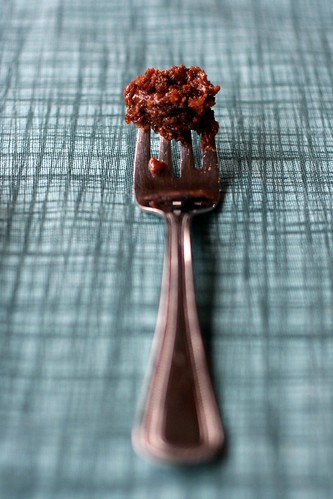
I love the pioneer woman. I think she’s absolutely hilarious and her recipes always look divine. I’m going over to a friends house this evening so I decided to try out her chocolate sheet cake.
This isn’t a dignified dessert. There are not fancy sauces or expensive ingredients. It’s impossible to get out of the pan without it falling apart and looking like sludge.
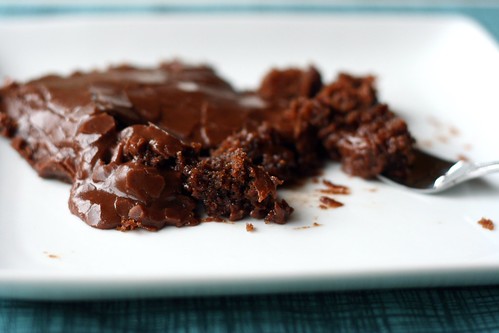
But it’s dang good. Like, there aren’t words to adequately describe how good it is. It’s what dessert should taste like.
Do yourself a favor and make this. tonight.
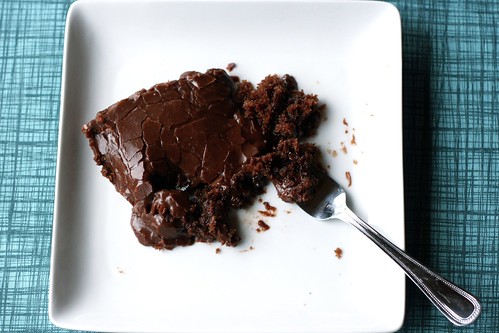
Pioneer Woman Chocolate Sheet Cake
Combine in a mixing bowl:
2 cups flour
2 cups sugar
1/4 teaspoon salt
In a saucepan, melt:
2 sticks butter
Add 4 heaping tablespoons cocoa. Stir together.
Add 1 cup boiling water, allow mixture to boil for 30 seconds, then turn off heat. Pour over flour mixture, and stir lightly to cool.
In measuring cup, pour 1/2 cup buttermilk.
Add:
2 beaten eggs
1 teaspoon baking soda
1 teaspoon vanilla
Stir buttermilk mixture into butter/chocolate mixture. Pour into sheet cake pan and bake at 350-degrees for 20 minutes.
While cake is baking, make icing:
Chop 1/2 cup pecans finely.
Melt 1 3/4 sticks butter in a saucepan.
Add 4 heaping tablespoons cocoa, stir to combine, then turn off heat.
Add:
6 tablespoons milk
1 teaspoon vanilla
1 lb minus 1/2 cup powdered sugar
Stir together.
Add pecans, stir together, and pour over warm cake.
Cut into squares, and eat.
Apple Tree Blossoms.


I went for a walk through a local apple orchard yesterday evening, it's so pink you can hardly stand it.
New recipes coming soon, I promise. I'm making The Pioneer Woman's chocolate sheet cake this evening. I can't wait to see how it turns out.
don't forget about this giveaway. today's the last day you can enter!
Labels:
photography
Wednesday, March 25, 2009
evening light is the best.
Labels:
photography
Monday, March 23, 2009
Apple Cheddar Scones.
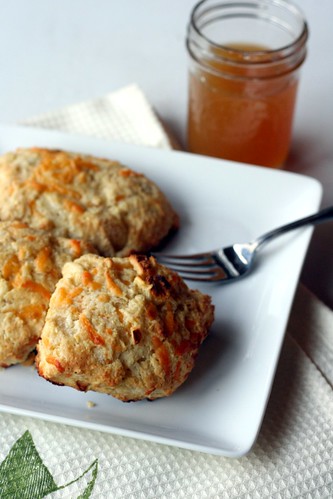
For as long as I can remember, my mom has sworn to me that apple pie tastes amazing with a piece of cheddar cheese melted over top. After making these scones, I’m inclined to believe her.
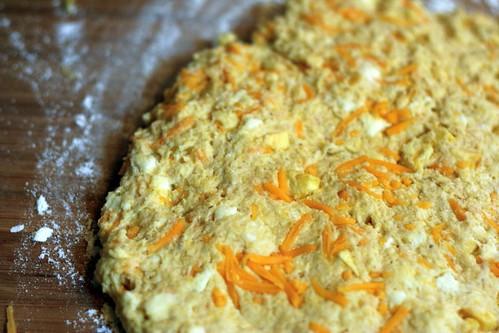
When you first bite into these, it’s like a flavor explosion. The dough is slightly sweet from the cider, and the cheese is nice and melty. There are a lot of textures going on, but it’s not overwhelming. The cornmeal gives the dough a great texture, and it’s so moist and fluffy.
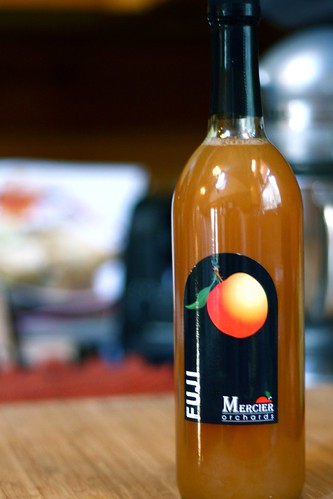
I used this great local cider. It’s so delicious. I’m sure apple juice would be good too, but I think the cider really added something extra.
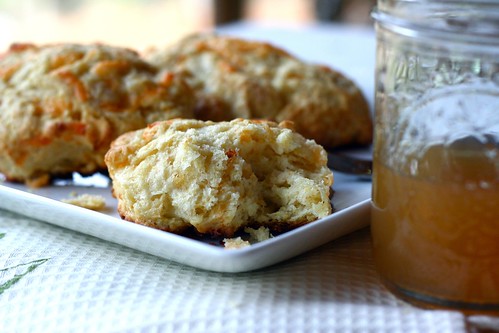
Apple Cheddar Scones
Baking: From My Home to Yours
1 large egg
1/2 cup cold buttermilk
1/4 cup cold apple cider or unsweetened apple juice
1 3/4 cups all-purpose flour
1/3 cup yellow cornmeal, preferably stone-ground
2 tablespoons sugar
1 tablespoon baking powder
1/4 teaspoon baking soda
1/4 teaspoon salt
1 stick (8 tablespoons) cold unsalted butter, cut into small pieces
3/4 cup grated cheddar cheese
1/2 cup finely diced dried apples
Getting reading: Center a rack in the oven and preheat the oven to 400 degrees F. Line a baking sheet with parchment or a silicone mat.
Stir the egg, buttermilk and apple cider together
Whisk the flour, cornmeal, sugar, baking powder, baking soda and salt together in a large bowl. Drop in the butter and, using your fingers, toss to coat the pieces of butter with flour. Quickly, working with your fingertips or a pastry blender, cut and rub the butter into the dry ingredients until the mixture is pebbly. You’ll have pea-size pieces, pieces the size of oatmeal flakes and pieces the size of everything in between - and that’s just right.
Pour the liquid ingredients over the dry ingredients and stir with a fork just until the dough, which will be very wet and sticky, comes together. If there are still some dry ingredients in the bottom of the bowl, stir them in, but try not to overdo the mixing. Stir in the grated cheese and dried apple.
Still in the bowl, gently knead the dough by hand, or turn it with a rubber spatula 8 to 10 times. Then, because the dough is very sticky, the easiest thing to do is to turn it out onto a lightly floured work surface, pat it into a rectangle about 1/2 inch thick and, using a dough scraper or a chef’s knife, cut it into 12 roughly equal pieces; place on the baking sheet. Alternatively, you can just spoon out 12 equal mounds onto the baking sheet. (At this point, the scones can be frozen on the backing sheet, then wrapped airtight. Don’t defrost before baking - just add about 2 minutes to the baking time.)
Bake the scones for 20 to 22 minutes, or until their tops are golden and firmish. Transfer them to a rack and cool for 10 minutes before serving, or wait for the scones to cool to room temperature.
some notes: These were done in about 15 minutes for me, and were quite overdone on the bottom, I might try using an insulated cookie sheet next time.
Friday, March 20, 2009
Trips to the nursery.
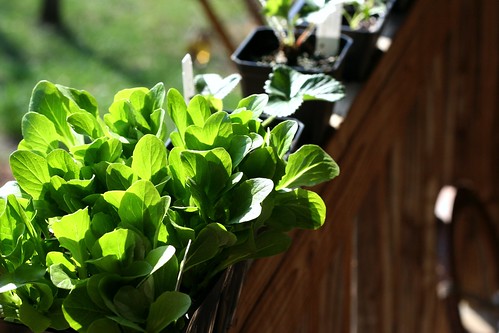


These past couple of days have been filled with trips to the nursery and hands in the dirt. We've planted strawberries, lettuce and carrots so far. This is so exciting for me, as I've never done it before. I can't believe in a couple of months I'll be able to eat the food I've sown. It's such an old concept, but so new to me.
Thanks for all the kind comments y'all have been leaving lately, I appreciate each and every one of them. Sometimes I forget to respond, but I always read them. I've noticed there are a lot of new people around here, I'd love to be able to meet you/look at your blog. So if you've never introduced yourself, I'd love it if you would. : )
Labels:
life
Thursday, March 19, 2009
Lemon Poppy Seed Bread.
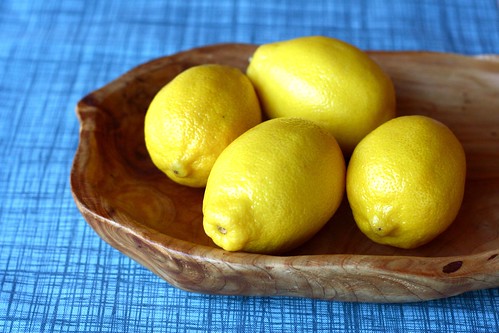
This bread gave me lots of trouble. The recipe is simple enough, it was me that kept messing it up. First, I forgot to put the eggs in at the right time, so I had to throw them in at the last second. Then it wouldn’t come out of the pan. When it finally did, a whole chunk of it came flying out and landed in the cats water bowl.
But, it was delicious. The lemon glaze is so good, i was breaking off bits and just dipping it right in the bowl. This bread was originally just lemon bread, but I added some poppy seeds in there for fun.
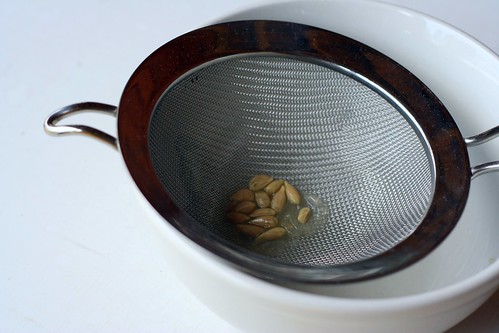
At first, I was trying to figure out how to disguise all it’s ugly spots (and there are many!) but then I decided to just accept it, photograph it, chunks missing and all.
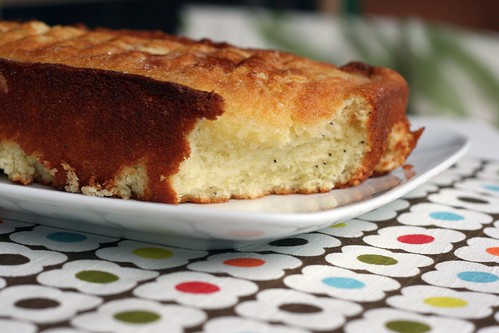
Lemon Poppy Seed Bread
The original recipe is here.
Ingredients:
1 1/4 cups all-purpose flour
1 tsp. baking powder
1/2 tsp. salt
8 Tbs. (1 stick) unsalted butter,
at room temperature
1 cup sugar
2 eggs
1/2 cup milk
1 Tbs. finely grated lemon zest
A couple of teaspoons of poppy seeds
For the lemon syrup:
1/4 cup sugar
3 Tbs. fresh lemon juice
Directions:
Preheat an oven to 350ºF. Grease and flour a 1-lb. loaf pan.
In a bowl, stir and toss together the flour, baking powder and salt. Set aside.
In the bowl of an electric mixer fitted with the flat beater, beat the butter and sugar on medium speed until blended, 2 to 3 minutes. Add the eggs one at a time, beating well after each addition.
Reduce the speed to low and add the flour mixture along with the milk and lemon zest. Beat until blended and smooth, stopping the mixer occasionally to scrape down the sides of the bowl. Stir in the poppy seeds. (I just kept putting them in there until it looked like enough, I don’t have an exact amount)
Spoon the batter into the prepared pan and bake until a toothpick inserted into the center of the loaf comes out clean, 50 to 60 minutes. (mine only took 45)
Meanwhile, make the lemon syrup: In a small bowl, combine the sugar and lemon juice. Set aside, stirring occasionally; don’t worry if the sugar does not dissolve completely.
Remove the bread from the oven and transfer the pan to a wire rack. Using a fork, gently poke the top in several places. Stir the syrup, then slowly drizzle it over the hot bread. Let the bread cool in the pan for 15 minutes, then turn the loaf out onto the rack, top side up, and let cool completely. Makes 1 loaf.
Wednesday, March 18, 2009
Breakfast, and my favorite biscuit recipe.
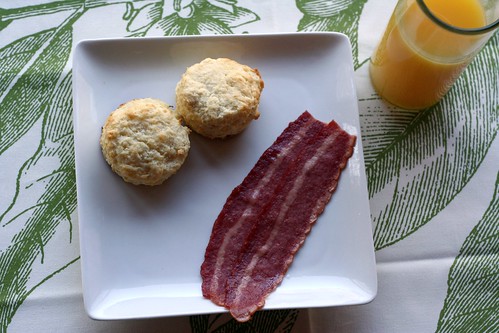
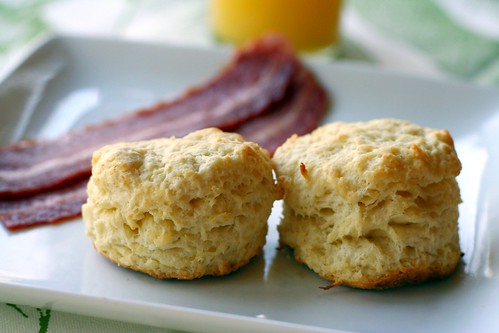
Old Fashion Baking Powder Biscuits
2 cups all purpose flour
1 tablespoon baking powder
1/2 teaspoon salt
1/2 cup butter
3/4 cup milk (buttermilk is the best)
Heat the oven to 450.
Combine flour, baking powder and salt in a medium bowl.
Cut in butter with a pastry blender until mixture resembles coarse crumbs with some pea-sized pieces. Add milk and sit with a fork until clumps form, making slightly stick dough.
Place dough on a well floured work surface. Coat your hands with flour and knead gently 8 to 10 times. until the dough just holds together and is no longer sticky.
Gently pat dough into a 9 inch round at least 1/2 inch think, lifting dough occasionally so it doesn’t stick to the surface. Cut 2 1/2 inch biscuits with a biscuit cutter (or just use to top of a glass).
Place biscuits about 1 inch apart on an ungreased cookie sheet. Press and remaining scraps together and cut into biscuit sized pieces.
Bake 10 to 12 minutes or until golden brown.
These are also really good if you add in some cheese and use garlic salt in place of regular. Also, I don't roll mine out quite as much as this recipe calls for. I like them a little taller.
Tuesday, March 17, 2009
Vanilla Cupcakes with Strawberry Frosting.
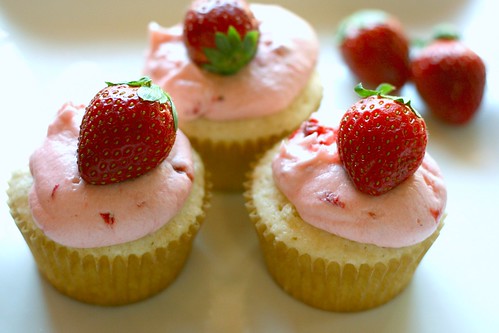
It’s felt like spring today, sunny skies and a lovely 70 degrees, trees blooming and birds singing. This called for pink cupcakes.
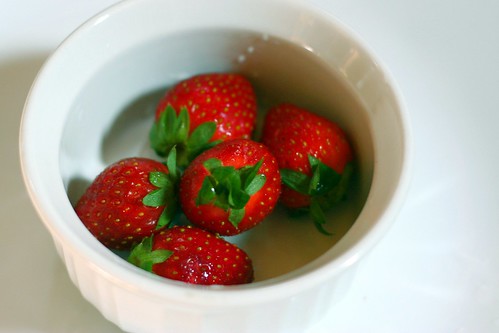
I’ve been on the search for the perfect vanilla cake batter for a while now. Many I’ve tried are good, but they come out just a little too sweet, too dry, etc. The recipe I used comes from the latest Southern Living. It came out perfectly, they rose evenly and were so moist and tender. I halved the recipe and it gave me almost exactly 12 cupcakes, it might have done 13 or 14. It works so well for super sugary frosting, the cakes themselves aren’t so sweet. This will be my go-to recipe now.
The strawberry buttercream is so good - it tastes like spring. Plus the strawberries turn the icing an amazing shade of pink, it’s adorable.
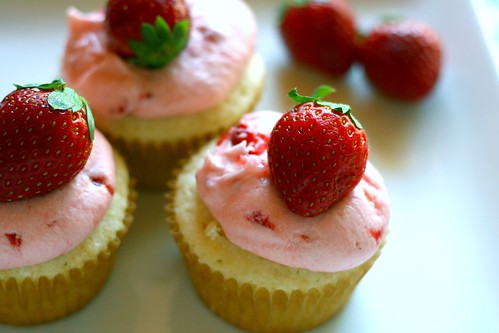
Basic Vanilla Cake Batter
(this is for a layer cake, I halved it to make 12 cupcakes)
2 cups sugar
1 cup butter, softened
3 large eggs
1 tsp vanilla extract
1/4 tsp almond extract
3 cups cake flour
1 1/2 tsp baking powder
1/4 tsp salt
1 cup buttermilk
Preheat oven to 350.
Beat sugar and butter at medium speed with a heavy-duty electric stand mixer until creamy and fluffy, about 5 minutes.
Add eggs, 1 at a time, beating until yellow disappears after each addition. Beat in vanilla and almond extracts.
Whisk together flour, baking powder and salt in a small bowl; add to sugar mixture alternately with buttermilk, beginning and ending with flour mixture. Beat a medium-low speed just until blended after each addition. (batter will be thick)
For two 9 inch pans, cook for 32-36 minutes.
My cupcakes baked for about 20 minutes.
Strawberry Vanilla Buttercream
1/2 cup butter, softened
1 tsp vanilla extract
1/8 tsp salt
1 (16 oz) package powdered sugar
1/2 cup of fresh strawberries, chopped
Beat first 3 ingredients at medium speed with an electric mixer until creamy.
Gradually add powdered sugar alternately with strawberries, beating at low speed until blended and smooth after each addtion.
Monday, March 16, 2009
When life gives you lemons (or lots of rain...)
Labels:
photography
Friday, March 13, 2009
Another Banana Recipe? Yes. Coco-Nana Bread.
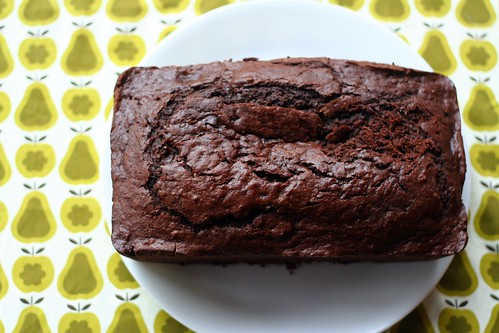
Let’s start at the beginning, although I found this recipe disappointing, I actually really enjoyed the process of making this. I don’t mind sifting, and there’s a lot of it in this recipe, and there is just something about smashing bananas that is so satisfying.
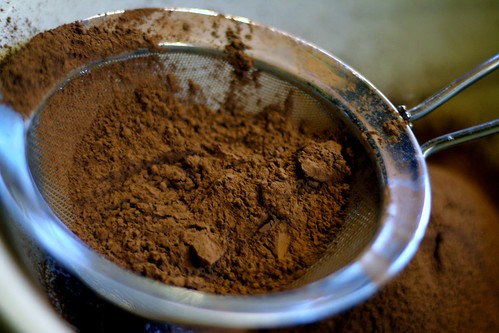
When I first cut off a piece of this, it tasted absolutely disgusting, I was ready to write a scathing review, and possibly call Dorie Greenspan absolutely crazy for putting this in her book (forgive me!). 20 minutes later, I tried it again and it seemed like the taste had completely changed. I know some things get better the longer they are left to sit, but I’ve never seen anything this drastic.
The taste was...disappointing is the best word for it. It wasn’t bad per se, but it just wasn’t that good. I could hardly taste the bananas, and it just seemed to taste of chocolate that wasn’t sweet enough, if that makes sense.
I won’t be making this one again, but it was a fun experience.
Coco-nana Bread
from Baking: From My Home to Yours by Dorie Greenspan
2 cups all-purpose flour
1 cup semisweet cocoa powder
1 1/2 tsp baking powder
1/2 tsp salt
1/4 tsp baking soda
1 stick unsalted butter at room temp
3/4 cup sugar
1/2 cup packed light brown sugar
2 large eggs
2 ripe bananas, mashed
3/4 cup buttermilk
3 ounces bittersweet chocolate, coarsely chopped, or 1/2 cup store-bought chocolate chips
Preheat oven to 350. Butter a 9 x 5 inch loaf pan and place it on an insulated baking sheet or on two regular baking sheets stacked on top of the other. (This extra insulation will keep the bottom of the bread from over baking.)
Sift together the flour, cocoa, baking powder, salt and baking soda.
Working with a stand mixer, preferably fitted with a paddle attachment, or with a hand mixer in a large bowl, beat the butter at medium speed for about a minute, until softened. Add the sugars and beat for 2 minutes more. Add the eggs one at a time, beating for a minute after each addition. At this point, the batter may look a little curdled -- it's okay. Reduce the mixer speed to low and mix in the mashed bananas. Add the dry ingredients in 3 additions, mixing only until they disappear into the batter. Still on low speed, add the buttermilk, mixing until it is incorporated. Stir in the chopped chocolate. Scrape the batter into the pan.
Bake for 30 minutes. Cover the bread loosely with a foil tent to keep the top from getting too dark, and continue to bake for another 40 to 45 minutes (total baking time is between 70 to 75 minutes) or until a thin knife inserted into the center comes out clean. Transfer the pan to a rack and cool for at least 20 minutes before running a knife around the edges of the bread and unmolding. Invert and cool to room temp right side up.
Wednesday, March 11, 2009
Tuesday, March 10, 2009
Earl Grey Cupcakes with Lemon Earl Grey Buttercream.
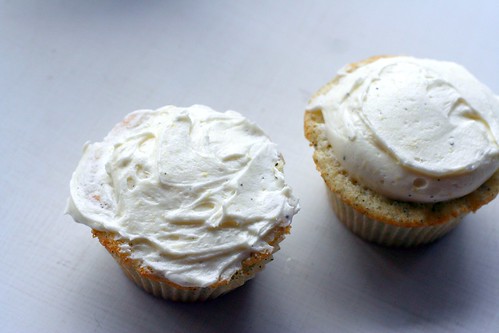
When I first saw this recipe I thought “earl grey....cupcakes?! how can this be!”. I soon calmed down and resolved to make them very soon.
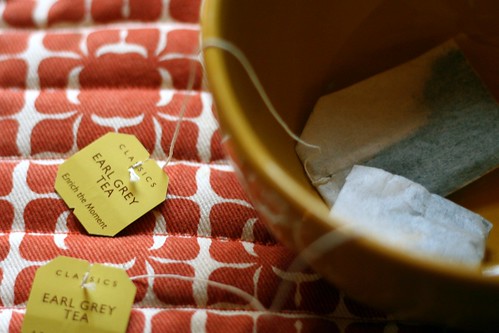
I’ve always been a tea drinker. I can’t for the life of me see what the allure of coffee is. But tea...with is simplicity and deliciousness, it’s always drawn me in. I rarely drink earl grey, it’s a little too floral for me, irish breakfast is more my style. But it was so good in these cupcakes.
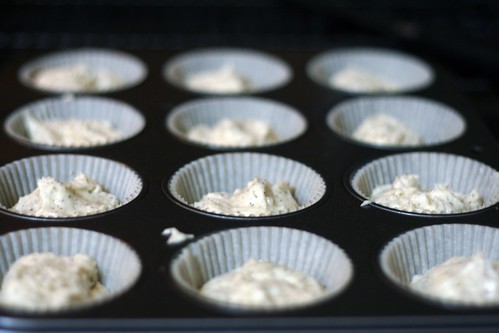
The flavor isn’t really what you expect when you bite into a cupcake. At first, you don’t really taste it, you just smell it. And it smells wonderful. But then after a few bites, you really start getting the flavor. It’s fabulous. And the lemon earl grey buttercream is SO GOOD! I could just eat it with a spoon. I will definitely be making these again.
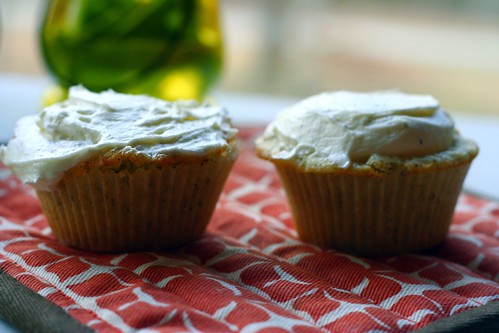
look at me trying to distract you from my awful icing skills with crazy patterns!
Earl Grey Cupcakes with Lemon Earl Grey Buttercream
Makes about 15
For the cake:
1/2 cup unsalted butter, at room temperature
1 cup of sugar
2 eggs
1 1/2 cups of flour
1 1/2 tsp. baking powder
1/2 tsp. salt
1/2 cup milk
1 1/2 bags of earl grey tea, just the leaves
For the frosting:
1/2 cup unsalted butter
2 cups of powdered sugar
zest of 1 lemon
1 1/2 tbsn. lemon juice
1-2 teaspoons of earl grey tea leaves
Preheat oven to 350 F. Fill a cupcake pan with liners. Beat the butter until creamy, then add the sugar and beat until fluffy. Add the eggs one at a time, making sure that they are incorporated thoroughly. In a bowl, combine the rest of the dry ingredients, including the tea leaves. Next, add half of the dry mixture. Add the milk then the remaining flour, stir until combined. Fill cupcake liners about 2/3 full. Bake for 15 - 20 minutes, rotating halfway to ensure even baking. Let cool completely before frosting.
For the frosting, cream the butter until nice and smooth. Gradually add the powdered sugar. Next, add the lemon zest, lemon juice and tea, making sure it is well incorporated. Frost and enjoy.
Some notes: Mine completely sunk in the middle. But that’s why God made icing, right? Right. Also, mine were done in about 12 minutes, but it may be different for you. You don't do anything with the tea bags but rip them open and pour the leaves in when it says to.
Sunday, March 08, 2009
lovely spring things.
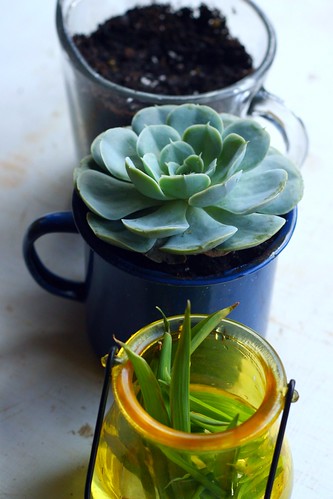
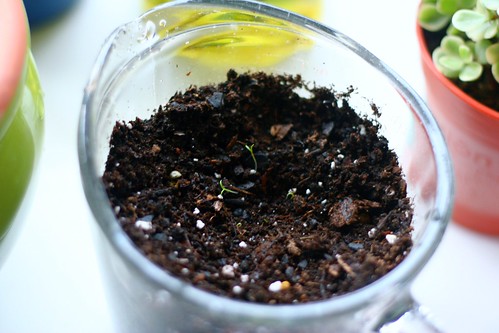
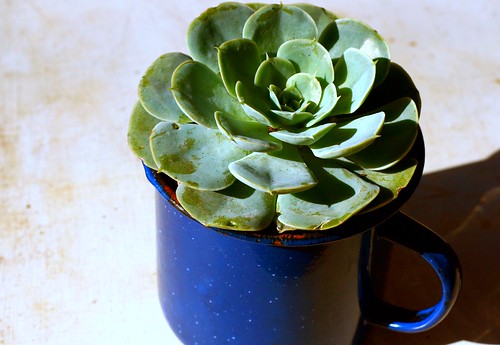
I've spent most of the afternoon outside in the amazing weather, photographing all the little plants I've started already. A couple of our trees have starting budding, so I pulled off a few branches and stuck them in a vase. So beautiful.
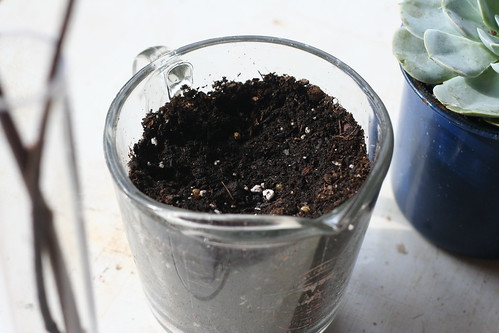
Instead of going out and buying a bunch of pots to put seed in, I've used things around the house, like the camping cup and this old measuring cup, I couldn't see the lines on the side anymore! It's so much cheaper and I think it looks great.
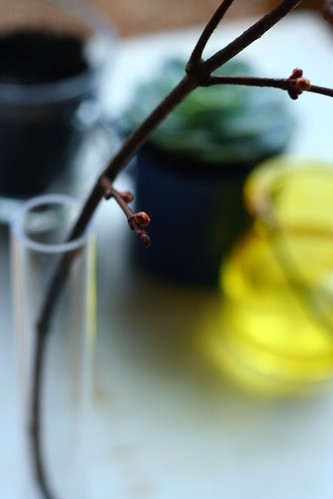
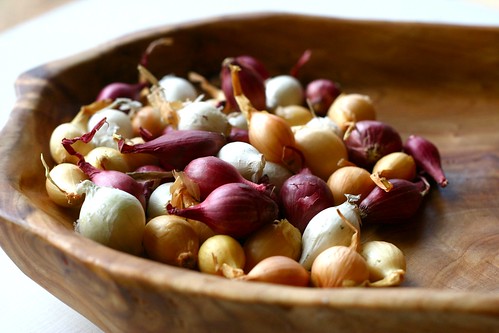
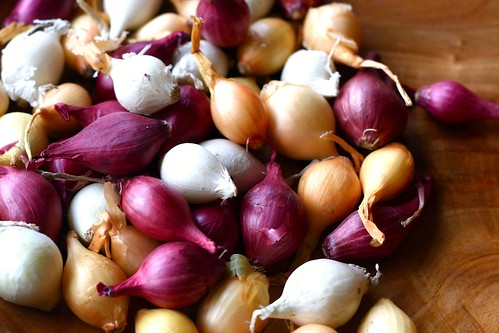
I can't wait to start my herbs and other gardening projects, it seems I'll be taking care of the carrots and onions this year.
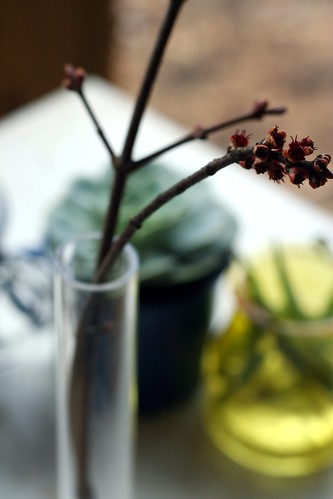
I'm hoping to bake some earl grey cupcakes this week, but I'm not sure what else. I'm sure I'll tackle some more recipes from my new cookbook.
Labels:
gardening,
life,
photography
Saturday, March 07, 2009
hello, gorgeous.
Labels:
gardening,
photography
Friday, March 06, 2009
Swedish Visiting Cake
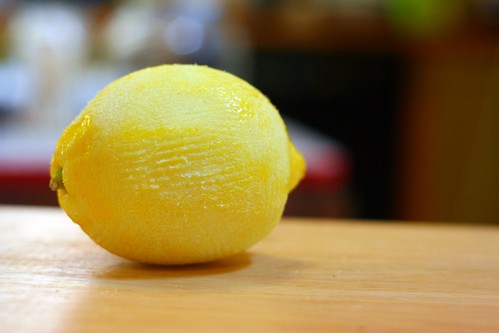
A couple of days ago I purchased Dorie Greenspan’s book, Baking From My Home to Yours. I’m so ridiculously excited about this book, it’s absurd. There are a million things I want to try, but I started with this.
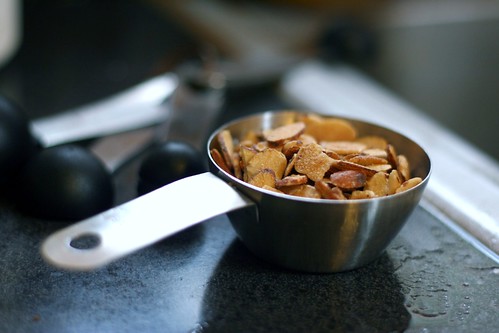
I love the name of it, Swedish Visiting Cake, I’m a sucker for good names. I had pretty high expectations starting out, and I wasn’t disappointed. This cake is really delicious, it comes out super moist, damp even, with a great crust, it has that amazing rustic feel I love in cakes. It would be amazing in the morning with a cup of tea or coffee. I used honey toasted almonds on top, they added a really nice flavor.
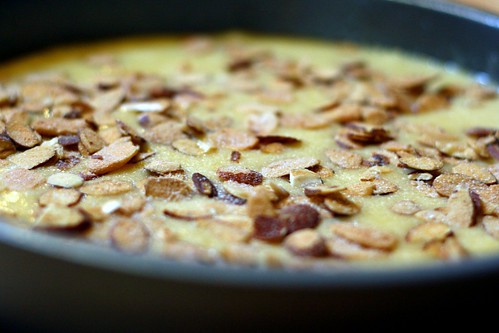
This cake calls for both vanilla and almond extract, or either. I used only vanilla. I think the almond extract may have overpowered the great lemon taste a little. I didn’t have a cast iron skillet big enough to bake this in, so I just used a normal cake pan.
I can’t wait to make this again.
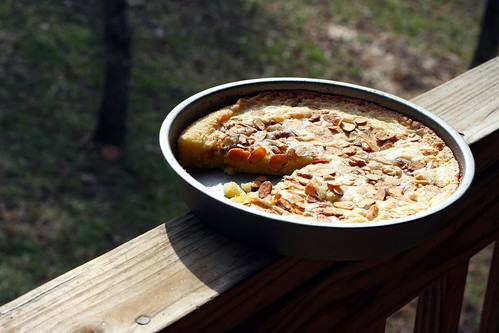
Mine didn’t come out nearly as pretty as the picture in the book, by as my dad always says, sometimes the ugliest foods are the most delicious.
Swedish Visiting Cake
8 tbsp (1 stick) unsalted butter, melted and cooled, plus more for preparing pan
1 cup sugar, plus extra for sprinkling
Grated zest of 1 lemon
2 eggs
1/4 tsp salt
1 tsp vanilla extract (optional)
1/2 tsp almond extract (optional)
1 cup flour
1/4 cup sliced almonds (blanched or not)
Center a rack in oven and preheat to 350 degrees. Butter a seasoned 9-inch cast-iron skillet or other heavy oven-proof skillet, a 9-inch round cake pan or even a pie pan. I used a my favorite pan in the whole world — a 9-inch oven proof, heavy skillet.
Pour sugar into a medium bowl. Add lemon zest and blend zest into sugar with your fingers until sugar is moist and aromatic. Whisk in eggs, one at a time, until well blended. Whisk in salt and vanilla and almond extracts.
Switch to a rubber spatula and stir in flour. Finally, fold in melted butter. Scrape batter into prepared skillet or pan and smooth top with rubber spatula.
Scatter sliced almonds over top and sprinkle with sugar. If using a cake or pie pan, place pan on baking sheet. Bake for 25 to 30 minutes, or until golden and a little crisp on outside; the inside will remain moist.
Wednesday, March 04, 2009
Family Portraits.
Labels:
family,
photography
Subscribe to:
Posts (Atom)

