
Fall snuck up on me this year. One day it was hot and humid, the next it was all golden leaves and cooler temperatures. The last few days have been down right chilly. I’m not complaining, I’m celebrating. Fall is my very favorite season!

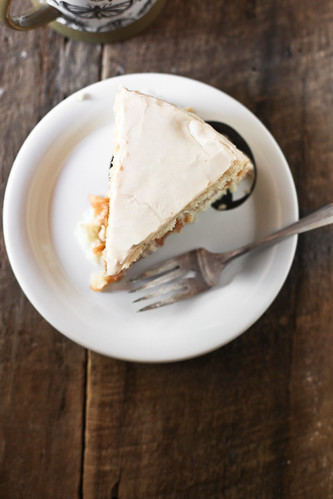
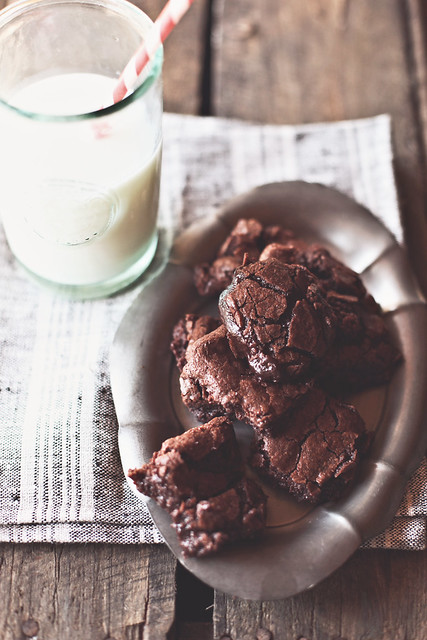
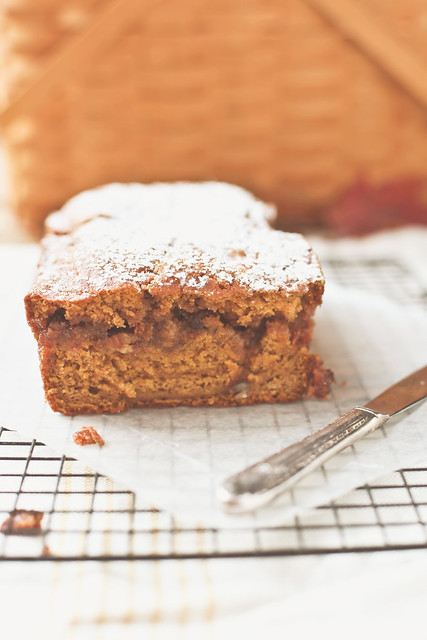
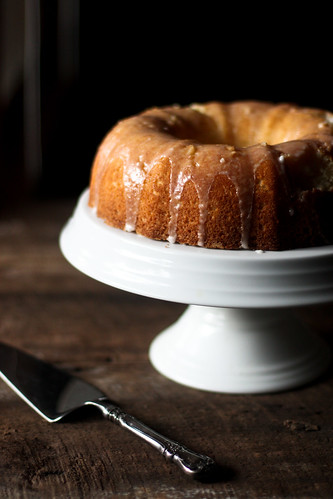
The cake is quintessential fall. The richness of the caramel icing and the sweetness of the apple filling are things that just cant be fully appreciated in the heat of the summer. They need a cool breeze to feel at home.
It’s inspired a recipe in the September issue of Food and Wine, a cake called the
Revelatory Cake. It’s from the cookbook
The Southern Foodways Alliance Community Cookbook, which I cannot wait to get my hands on. It’s co-written by
John T. Edge, whose work I have admired since I first heard about him on
The Splendid Table.
Mine is quite different from the original though. I used Dorie Greenspan’s Perfect Party Cake and filled mine with an apple filling. The icing is the only thing I used from the original recipe, and it is delicious.
Enjoy!
Perfect Party Cake
from Baking: From My Home To Yours
For the Cake:
2 1/4 cups cake flour
1 tablespoon baking powder
1/2 teaspoon salt
1 1/4 cups whole milk or buttermilk
4 large egg whites
1 1/2 cups sugar
1 stick (8 tablespoons) unsalted butter, at room temperature
2 teaspoons vanilla extract
Center a rack in the oven to 350 degrees F. Butter two 9-x-2-inch round cake pans and line the bottom of each pan with a round of buttered parchment or wax paper. Put the pans on a baking sheet.
Sift together the flour, baking powder and salt.
Whisk together the milk and egg whites in a medium bowl.
Put the sugar and the butter in the bowl of an electric mixer and, working with the paddle or whisk attachment, or with a hand mixer, beat at medium speed for a full 3 minutes, until the butter and sugar are very light. Beat in the extract, then add one third of the flour mixture, still beating on medium speed. Beat in half of the milk-egg mixture, then beat in half of the remaining dry ingredients until incorporated. Add the rest of the milk and eggs, beating until the batter is homogeneous, then add the last of the dry ingredients.
Finally, give the batter a good 2-minute beating to ensure that it is thoroughly mixed and well aerated. Divide the batter between the two pans and smooth the tops with a rubber spatula.
Bake for 30 to 35 minutes, or until the cakes are well risen and springy to the tough – a thin knife inserted into the centers should come out clean. Transfer the cakes to cooling racks and cool for about 5 minutes, then run a knife around the sides of the cakes, unmold them and peel off the paper liners. Invert and cool to room temperature right side up. (The cooled cake layers can be wrapped airtight and stored at room temperature overnight or frozen for up to 2 months.)
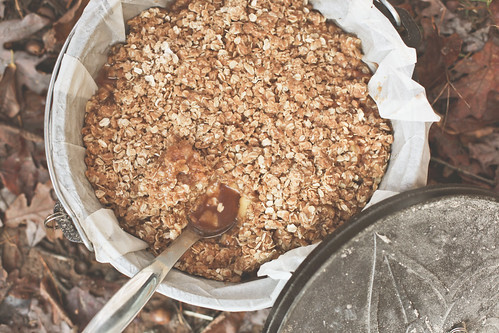
For the Filling:
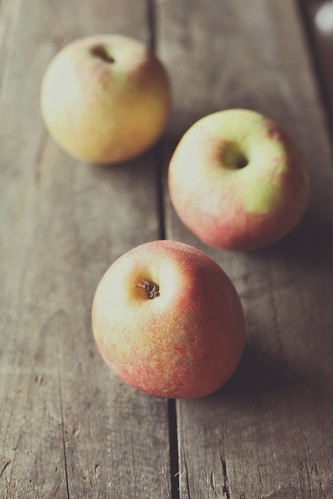
2 large apples, grated
1/2 teaspoon cinnamon
1/2 cup sugar
2 teaspoons lemon juice
Combine all ingredients in saucepan and cook until apples are tender.
For the Icing:
From The Southern Foodways Alliance Community Cookbook
3 cups sugar
3 tablespoons light corn syrup
1 1/2 cups whole milk
1 stick unsalted butter, softened
1 teaspoon pure vanilla extract
1/2 cup heavy cream
In a saucepan, stir 2 1/2 cups of the sugar with the corn syrup and milk. Cook over moderate heat, stirring until the sugar dissolves. Keep warm.
Sprinkle the remaining 1/2 cup of sugar in a deep, heavy saucepan. Cook the sugar over moderate heat, swirling occasionally, until an amber caramel forms. Carefully pour the warm milk mixture over the caramel. Cook over moderately high heat, stirring, until the caramel dissolves. Stop stirring and cook until the caramel registers 235° on a candy thermometer. Remove from the heat. Stir in the butter, vanilla and 1/4 cup of the heavy cream. Strain the caramel into the bowl of a standing mixer. Let cool for 15 minutes.
Beat the caramel at medium speed, gradually adding the remaining 1/4 cup of cream, until creamy, about 15 minutes.
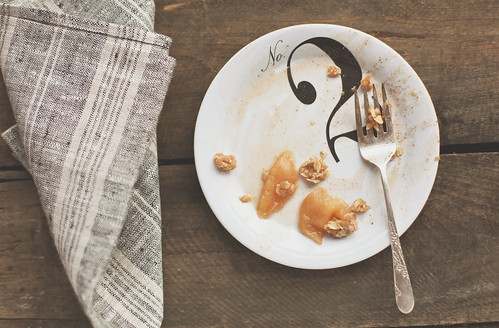
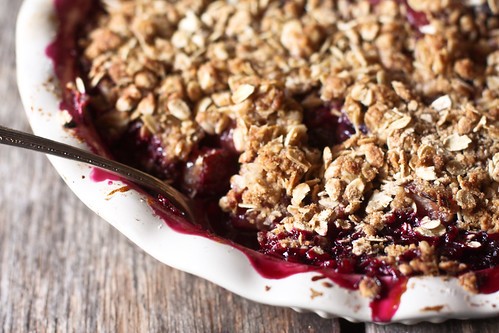
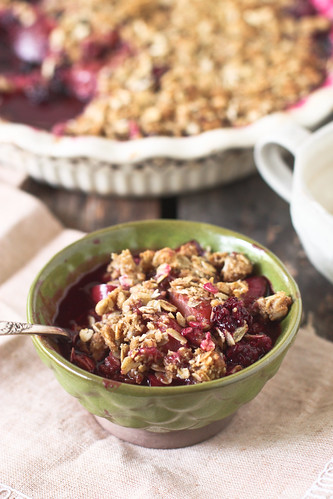
Set 1 cake layer on a plate. Top with apple mixture. Add the top layer and pour icing over the top of the cake, letting it run down the sides. Working quickly, use an offset spatula to spread the icing gently around the cake. Let the cake stand for 2 hours to set the icing before serving.


![[177/365] nature stories for tiny folk](http://farm5.static.flickr.com/4119/4749761047_647b939af7.jpg)

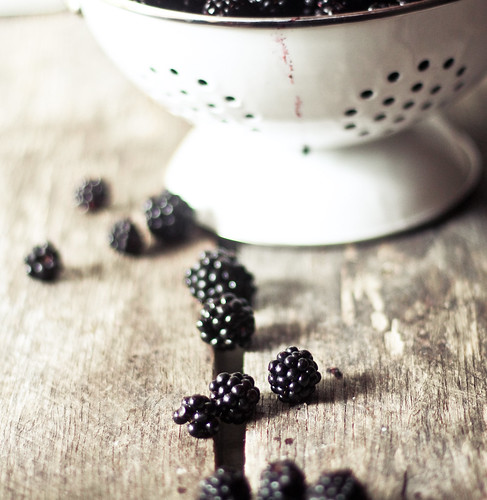
![[184/365] wild blackberries](http://farm5.static.flickr.com/4136/4772494387_60e28894d1.jpg)
![[182/365] color me excited!](http://farm5.static.flickr.com/4134/4765763602_a13d39cdd3.jpg)
![[180/365] it's magic, you know.](http://farm5.static.flickr.com/4101/4759099704_d1a658878b.jpg)