Monday, April 27, 2009

my first daring bakers challenge - cheesecake!

daring bakers cheesecake

I'm not good at making food pretty. Actually, I’m not all that interested in making food pretty. I understand why people do it, but I just don't care enough. I'm never going to be one of those people who spends hours draping a cake with fondant. I love the idea of it, but it's soon to be devoured! I want the food to taste good, and at the end of the day, that's what matters, right? Plus, most food is pretty on it's own, I think.

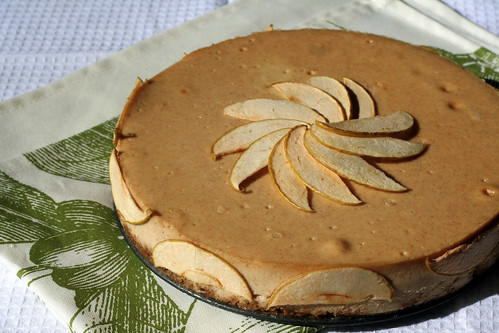
Well, for this months Daring Bakers, my first ever challenge, I decided to give it a go The recipe was cheesecake, I LOVE cheesecake, and think it's pretty great on it's own, but this time I actually put in some effort and tried to decorate it.
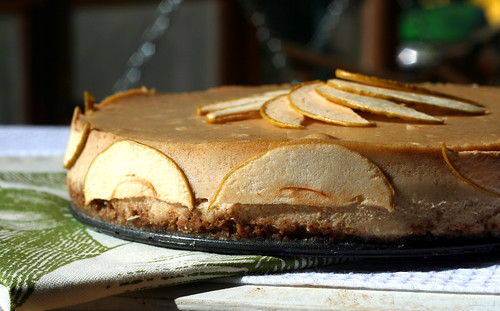
daring bakers cheescake

We were given a very basic cheesecake recipe and asked to jazz it up a bit. There is this recipe in Baking From my Home to Yours by Dorie Greenspan I’d been wanting to try for a while now, but just hadn’t gotten around to it, so I decided to combine the recipes. I used the gingersnap crust, apple cider, cinnamon and brown sugar from that recipe and added them to the recipe given.
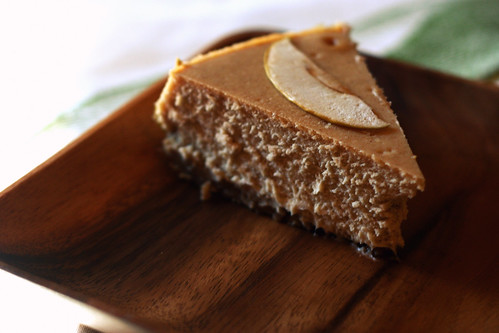
daring bakers cheescake

It turned out GREAT. The taste was awesome. My only problem was it had a soggy crust - I’d never done the water bath thing before and I didn’t realize you needed to wrap the bottom of your spring form pan with aluminum foil, I’ll be sure to do that next time.

When it came to decorating, I drew a complete blank. How do you decorate a cheesecake that isn’t fruity or carmel-y or chocolate-y? I couldn’t just throw some berries on top and call it a day.
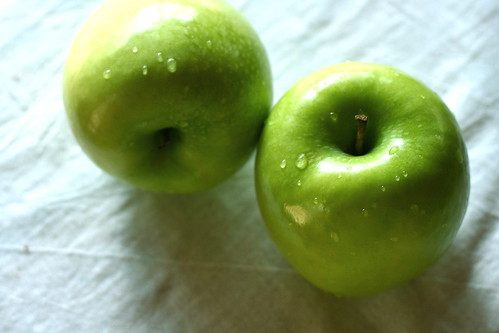
apples

So I asked on the daring bakers forum and someone mentioned drying some apples in the oven. It was the perfect idea. Sure, it still looks a little “rustic”, but I like it. Plus, the apples tasted really good with the cheesecake, the crunch really added something.
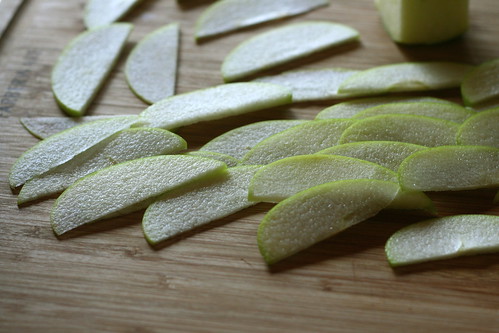
apples

I’m really glad I joined daring bakers, it’s been a ton of fun, and I’ll definitely be making this recipe again.

The April 2009 challenge is hosted by Jenny from Jenny Bakes. She has chosen Abbey's Infamous Cheesecake as the challenge.

Here’s the recipe (with my modifications in ( ))


Abbey's Infamous Cheesecake (or Cinnamon-Apple Cider Cheesecake!):

crust:
2 cups / 180 g graham cracker crumbs (ginger snaps)
1 stick / 4 oz butter, melted (1/2 stick)
2 tbsp. / 24 g sugar (light brown sugar)
1 tsp. vanilla extract (1/2 teaspoon ground cinnamon)

cheesecake:
3 sticks of cream cheese, 8 oz each, room temperature
1 cup / 210 g sugar (1/2 cup white sugar 1/2 cup brown sugar)
3 large eggs
1 cup / 8 oz heavy cream
1 tbsp. lemon juice (3 tbsp. apple cider)
1 tbsp. vanilla extract (2 tsp. vanilla extract)
1 tbsp liqueur, optional (2 tsp ground cinnamon)

DIRECTIONS:
1. Preheat oven to 350 degrees F . Begin to boil a large pot of water for the water bath.

2. Mix together the crust ingredients and press into your preferred pan. You can press the crust just into the bottom, or up the sides of the pan too - baker's choice. Set crust aside.

3. Combine cream cheese and sugar in the bowl of a stand-mixer (or in a large bowl if using a hand-mixer) and cream together until smooth. Add eggs, one at a time, fully incorporating each before adding the next. Make sure to scrape down the bowl in between each egg. Add heavy cream, vanilla, lemon juice, and alcohol and blend until smooth and creamy.

4. Pour batter into prepared crust and tap the pan on the counter a few times to bring all air bubbles to the surface. Place pan into a larger pan and pour boiling water into the larger pan until halfway up the side of the cheesecake pan. If cheesecake pan is not airtight, cover bottom securely with foil before adding water.

5. Bake 45 to 55 minutes, until it is almost done - this can be hard to judge, but you're looking for the cake to hold together, but still have a lot of jiggle to it in the center. You don't want it to be completely firm at this stage. Close the oven door, turn the heat off, and let rest in the cooling oven for one hour. This lets the cake finish cooking and cool down gently enough so that it won't crack on the top. After one hour, remove cheesecake from oven and lift carefully out of water bath. Let it finish cooling on the counter, and then cover and put in the fridge to chill. Once fully chilled, it is ready to serve.

P.S. Don't forget about my giveaway.

Saturday, April 25, 2009

Giveaway!


giveaway


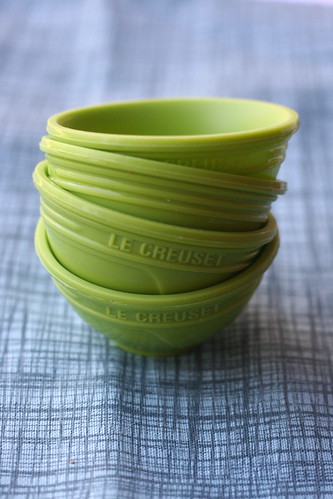
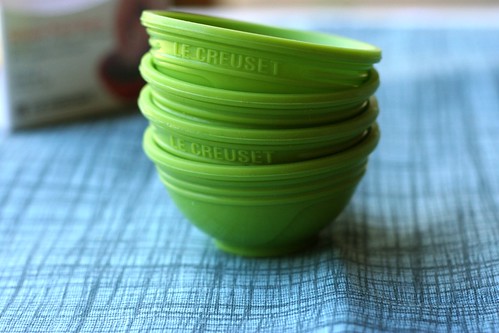
I really love pinch bowls. As you can see here, here, here, and here. They are pretty much a necessity in my kitchen, perfect for measuring out extracts, spices, baking powder and all of those little things too small to put in a big bowl. They also work really well to scoop flour. Seriously guys, these things are great.

giveaway

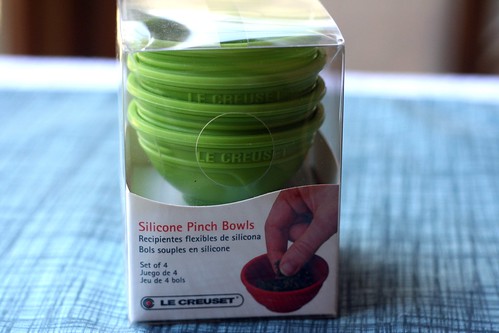
So today I’m giving away some of my new favorites, this cute set of 4 1/4 cup le creuset green pinch bowls.

What to do to enter:
Enter once by leaving a comment on this post and a way to contact you if you don't have a blog.
Enter a second time by twittering about the giveaway to @honeyandjam AND leaving a ANOTHER comment on this post.
Enter another time by posting about this giveaway on your blog AND leaving ANOTHER comment on this post.

No entires after 10 pm EST next Wednesday, April 29th.

I’ll select one winner through random.org next Thursday Morning.

giveaway

Good Luck!

Thursday, April 23, 2009

flourless peanut butter cookies and parmesan pull apart rolls

today

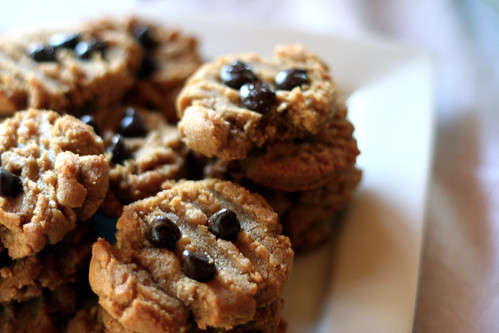
Today has been a long day. Or at least it’s felt like it. I got up early this morning, watered all of the plants, whose numbers seem to grow everyday. Then I quickly got to work on these cookies. Yet another Joy the Baker recipe that I absolutely love.

peanutbutter cookies

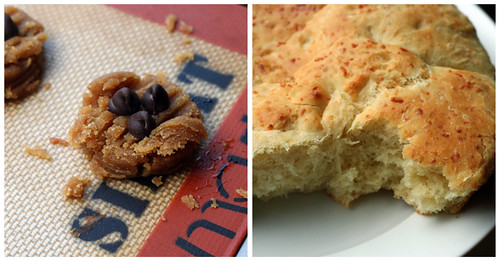
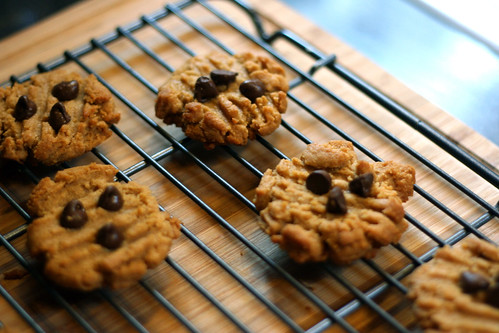
I don’t how anything with only 4 ingredients can be so delicious. They are nice and crisp on the outside and gooey on the inside. I’m thinking these will probably become a staple for me. And start to finish, they only take about 15 minutes!

IMG_5446

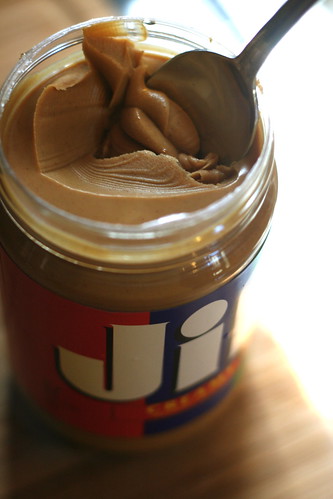
The recipe recommends using all-natural peanut butter, but all I had was Jif. At about 9 minutes in I checked on them and they weren’t holding together at all, I thought I was just going to have a bunch of blobs of hot peanut butter. I was cursing poor Jif’s name, sure that I should have run out and got some expensive brand. But after about 12 minutes, they were perfect. And oh so tasty.

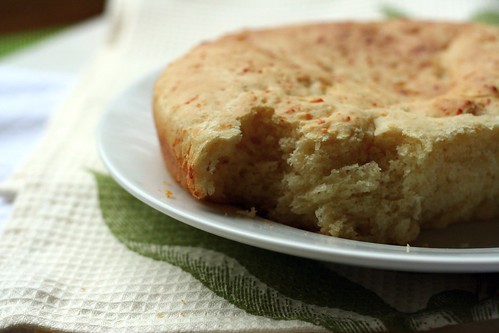
parmesan bread

As soon as those were out of the oven, I started these parmesan pull apart rolls. I’m determined to work with yeast as much as I can, and it’s going really well. These were AMAZING. Soft and light, with a strong parmesan taste. It’s perfect, expect that I couldn’t get them into roll shape. The dough is super sticky and after 3 tries, I just gave up and threw all the dough in the cake pan. It came out great, although I think I’m going to have to rename them parmesan rip apart rolls.


peanutbutter cookie

Flourless Peanut Butter Cookies
From The Gourmet Cookbook via Joy the Baker


1 cup all-natural chunky or smooth peanut butter

1 cup sugar (1/2 cup brown sugar and 1/2 cup granulated sugar)

1 egg

1 teaspoon baking soda

Preheat oven to 350 degrees F. Grease a baking sheet with butter and set aside. In a mixer combine peanut butter and sugars until well combined, about 2 minutes. Add egg and baking soda and mix for another 2 minutes. Roll into walnut sized balls and create a cris-cross pattern with a fork. If you’d like, add a few chocolate pieces to the top of the cookies. Bake for 10 minutes, until lightly browned. Cool on a baking sheet for two minutes, then transfer to… your mouth.


Parmesan Pull Apart Rolls
From Gourmet Magazine via Picky Cook

2 teaspoons active dry yeast (from a 1/4-oz package)
1 teaspoon mild honey or sugar
2/3 cup warm milk (105–115°F), divided
2 1/2 cups all-purpose flour plus 2 Tbsp for sprinkling
1 1/4 cups grated (with a rasp) Parmigiano-Reggiano (1 1/3 oz) (I used pre-shredded parmesan from the grocery store)
1 teaspoon salt
3 large eggs
5 tablespoons unsalted butter, cut into Tbsp pieces and softened
1 tablespoon water

Stir together yeast, honey, and 1/3 cup warm milk in mixer bowl and let stand until foamy, about 5 minutes. (If mixture doesn't foam, start over with new yeast.) Whisk together flour (2 1/2 cups), cheese, and salt, then mix into yeast mixture along with remaining 1/3 cup warm milk at low speed. Increase speed to medium and beat in 2 eggs, 1 at a time, beating well after each addition, then beat, scraping down side of bowl occasionally, until a very soft dough forms, about 3 minutes. Beat in butter, 1 Tbsp at a time, until dough is elastic, about 2 minutes. (Dough will be very sticky.)


Scrape dough into center of bowl and sprinkle with remaining 2 Tbsp flour. Cover bowl with plastic wrap and a kitchen towel and let dough rise in a draft-free place at warm room temperature until doubled, 1 1/2 to 2 hours.

Punch down dough (do not knead) and turn out onto a floured surface. Cut dough into 12 equal pieces and roll each into a ball by cupping your hand and pushing dough against work surface as you roll in a circular motion. Arrange rolls 1 inch apart in a buttered 9- by 2-inch round cake pan and cover with a kitchen towel (not terry cloth). Let dough rise in a draft-free place at warm room temperature until doubled and dough fills pan, 1 to 1 1/2 hours.

Preheat oven to 375°F with rack in middle.
*
Whisk together remaining egg with water and brush on tops of rolls. (You will have leftover egg wash.) Bake until golden brown, 20 to 25 minutes. Loosen edges of rolls from pan with a sharp knife and invert rolls onto a rack, then reinvert and cool at least 20 minutes.

Rolls are best the day they're made but can be frozen (cool completely, then wrap well) 1 month. Thaw, then reheat on a baking sheet in a 350°F oven until warmed through, 5 to 10 minutes.

Wednesday, April 22, 2009

My design...style?

I've been tagged by Hillary at The Gleam of Rose Tea to find one picture that demonstrates my design style. This is a hard one for me, seeing as how I don't really think about it all that much. Because if I do it get all flustered and want to redecorate immediately.

So I had to take some time, look around and really think about it.

I like homey things. I don't like houses to look like you can't live in them, sit in the chairs, or cook in them. So when I came across this picture from Design*Sponge, it really struck a chord with me. The chairs! The floorboard! Oh, the floorboards. I really wish I had those in my house. I love the vase on the table too. And that little table at the end of the counter. And the towel hanging on the cabinet! You get the picture. haha Of course I would pick a picture of a dining room/kitchen, since that's the first room I tend to look at in someones house.

Now, please don't be fooled into thinking that any room in my house actually looks like this, they don't, but I would happily decorate them like this.


And sadly, I'm not going to tag anyone. Because I'm so bad at it! But if you'd like to participate, feel free!

By the way, thanks for all your great suggestions for breads to try in my last post. I can't wait to try some out!